Create a new basic page
Most of the pages you will create, are pages of the modulair type. Besides modulair pages, which require more effort to create but are also more versatile, you can also create more basic and 'set in stone' pages, like the contact page. To create a new page like these, login using the admin panel and navigate to the pages tab, using the navigation panel on the left side. You will land on the page shown below (figure 1).
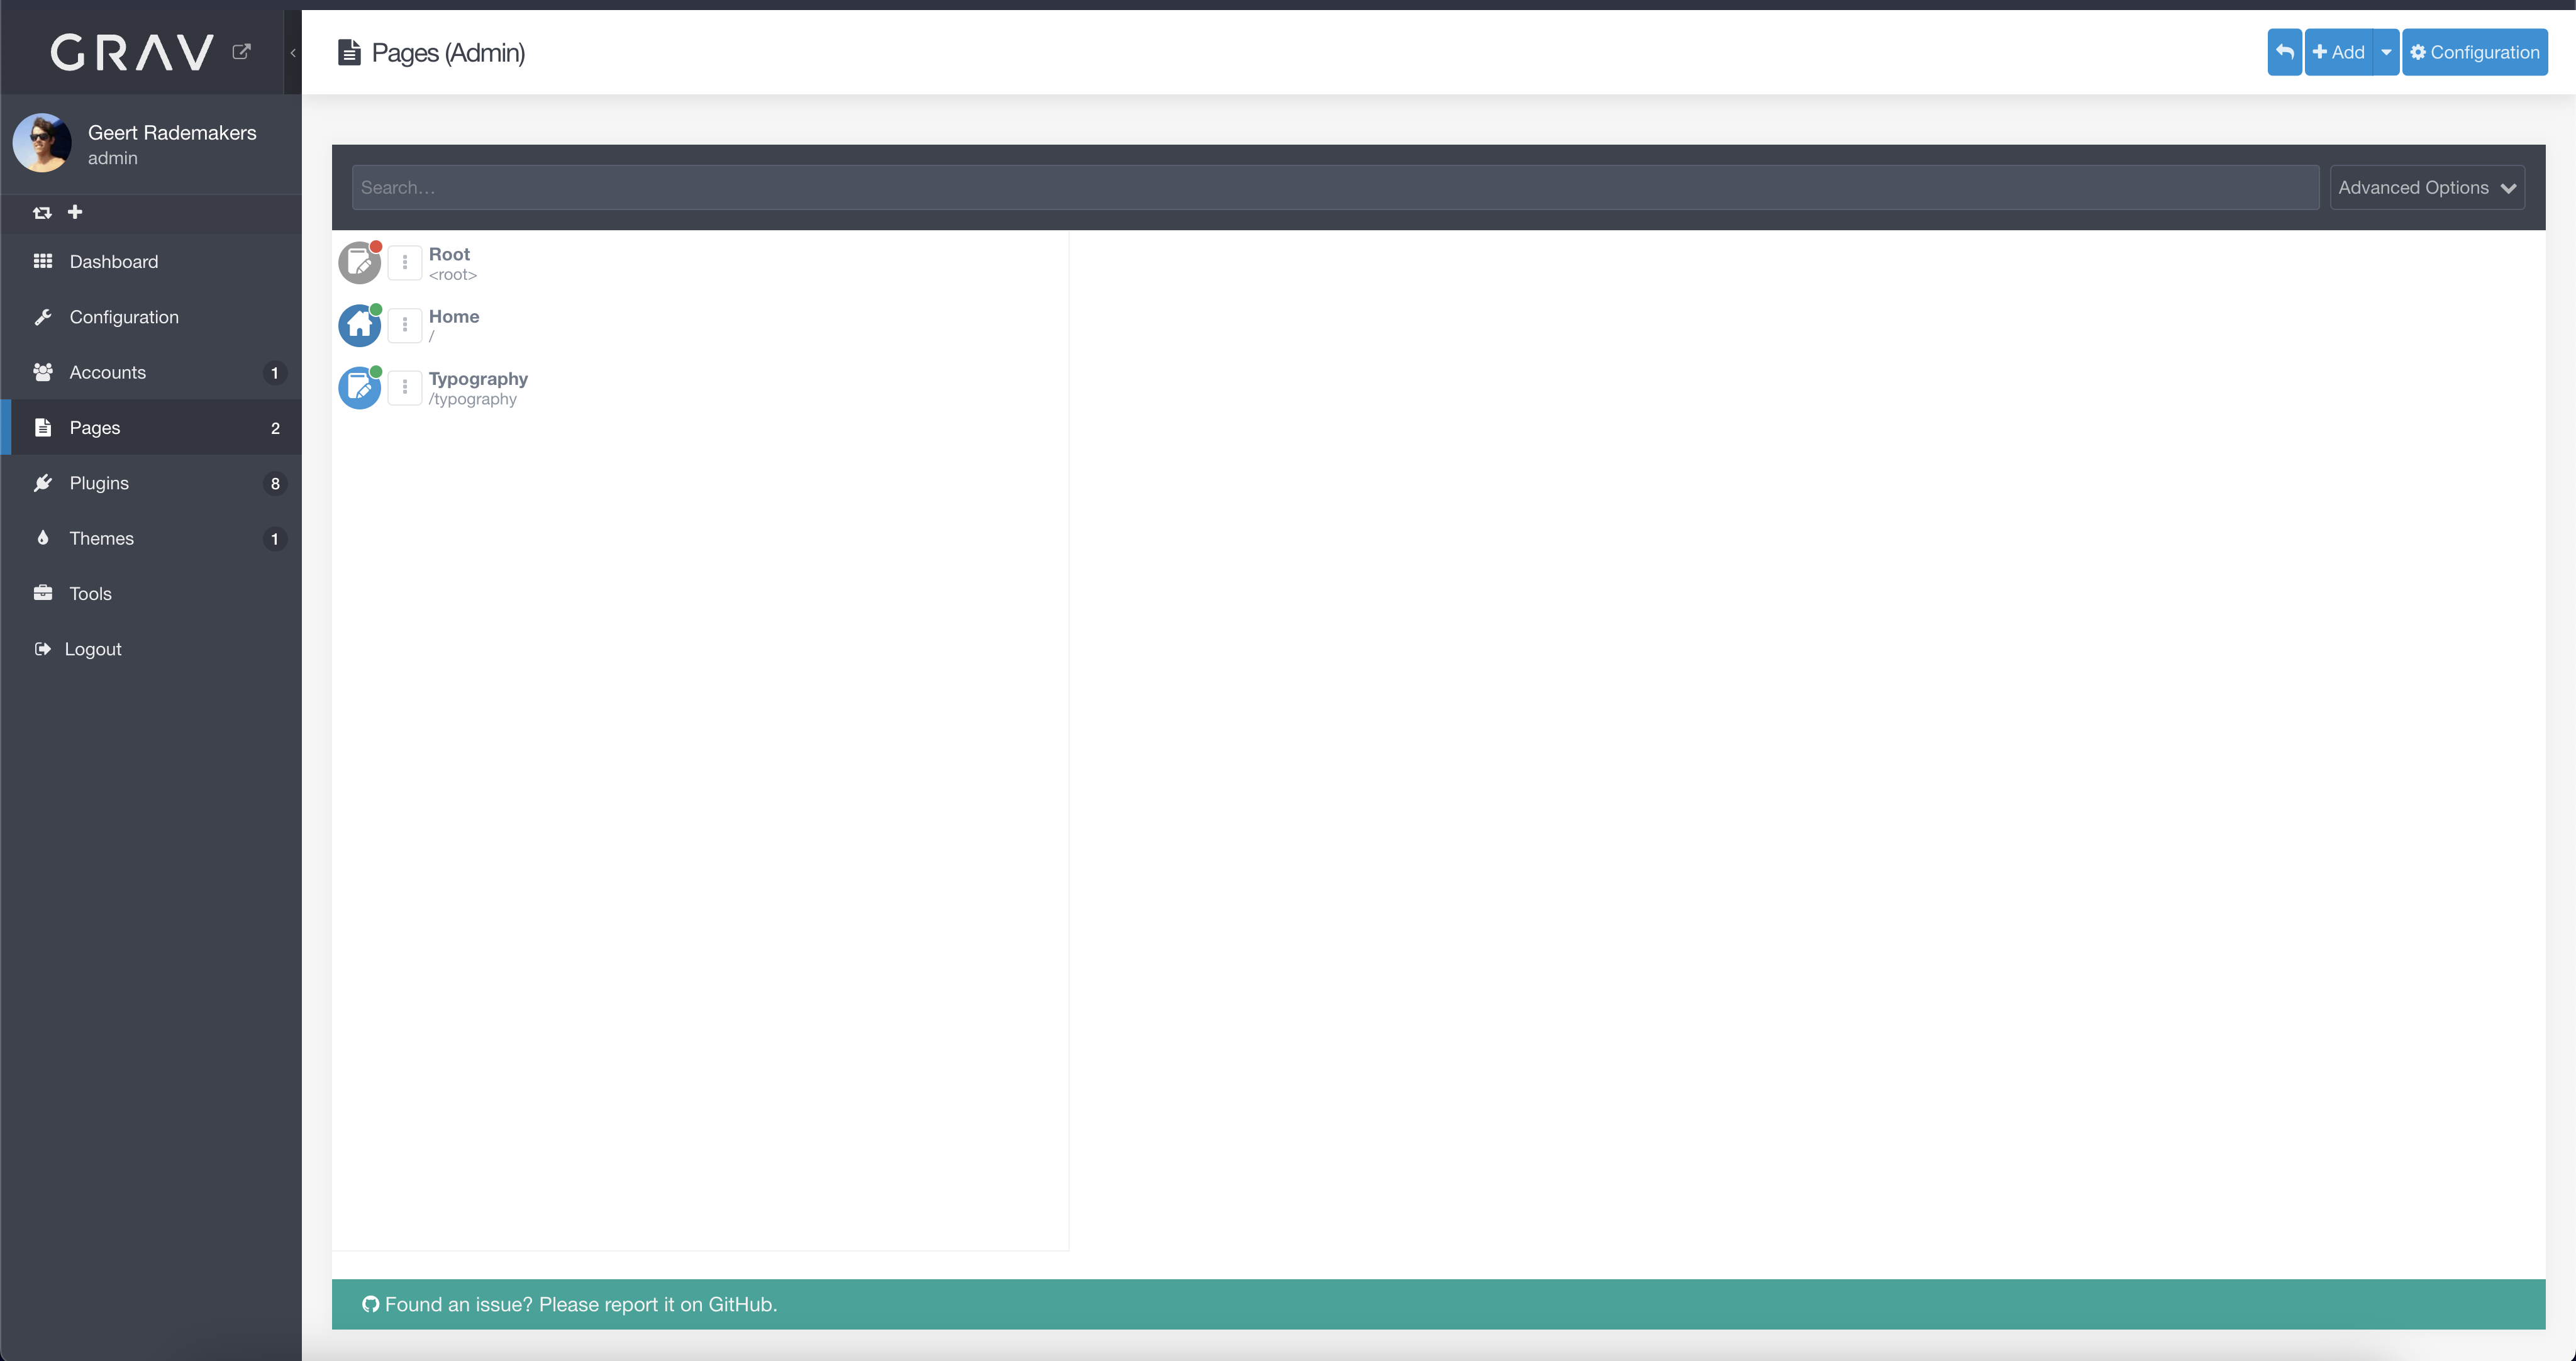 figure 1
At the right top, click on the '+ Add' button in blue. You can directly click on the button, or expand the menu and select 'Add page'. You will now be prompted with a dialog asking you for the description and configuration of your new page (figure 2). On some pages, the page title is used as a header on said page. Pick a good title for your new page, but don't worry, this value can be changed later. The folder name will be automatically filled. The title can contain capital letters and special icons while the folder string stays properly formatted. You don't have to change the folder name. Default, the parent page is set to the root of the webpage. This means that the page will appear in the top level of the menu and get an url based on the folder name. If the folder name, for example, 'contact'; the url of this page will be www.yourwebsite.com/contact.
After setting all this, you can define a template. The template you will use most, will be 'modular'. Modular means that you can add modules to this page (TODO: which you can read in this chapter). In the case of modular, the page you create here, will merely be a frame and not display anything unless you add modules to it. An example of a modular page, is probably your home page. You can pick any template you want according the page you want to create. The pages should be logically labeled, and you will find a list of modules that your website support in TODO: this chapter. Set the page visibility to your liking. Auto usually means that the page is immedietly visible. If you want to edit your page (a blog for example) before publishing it in your website, set the visibility to 'No'.
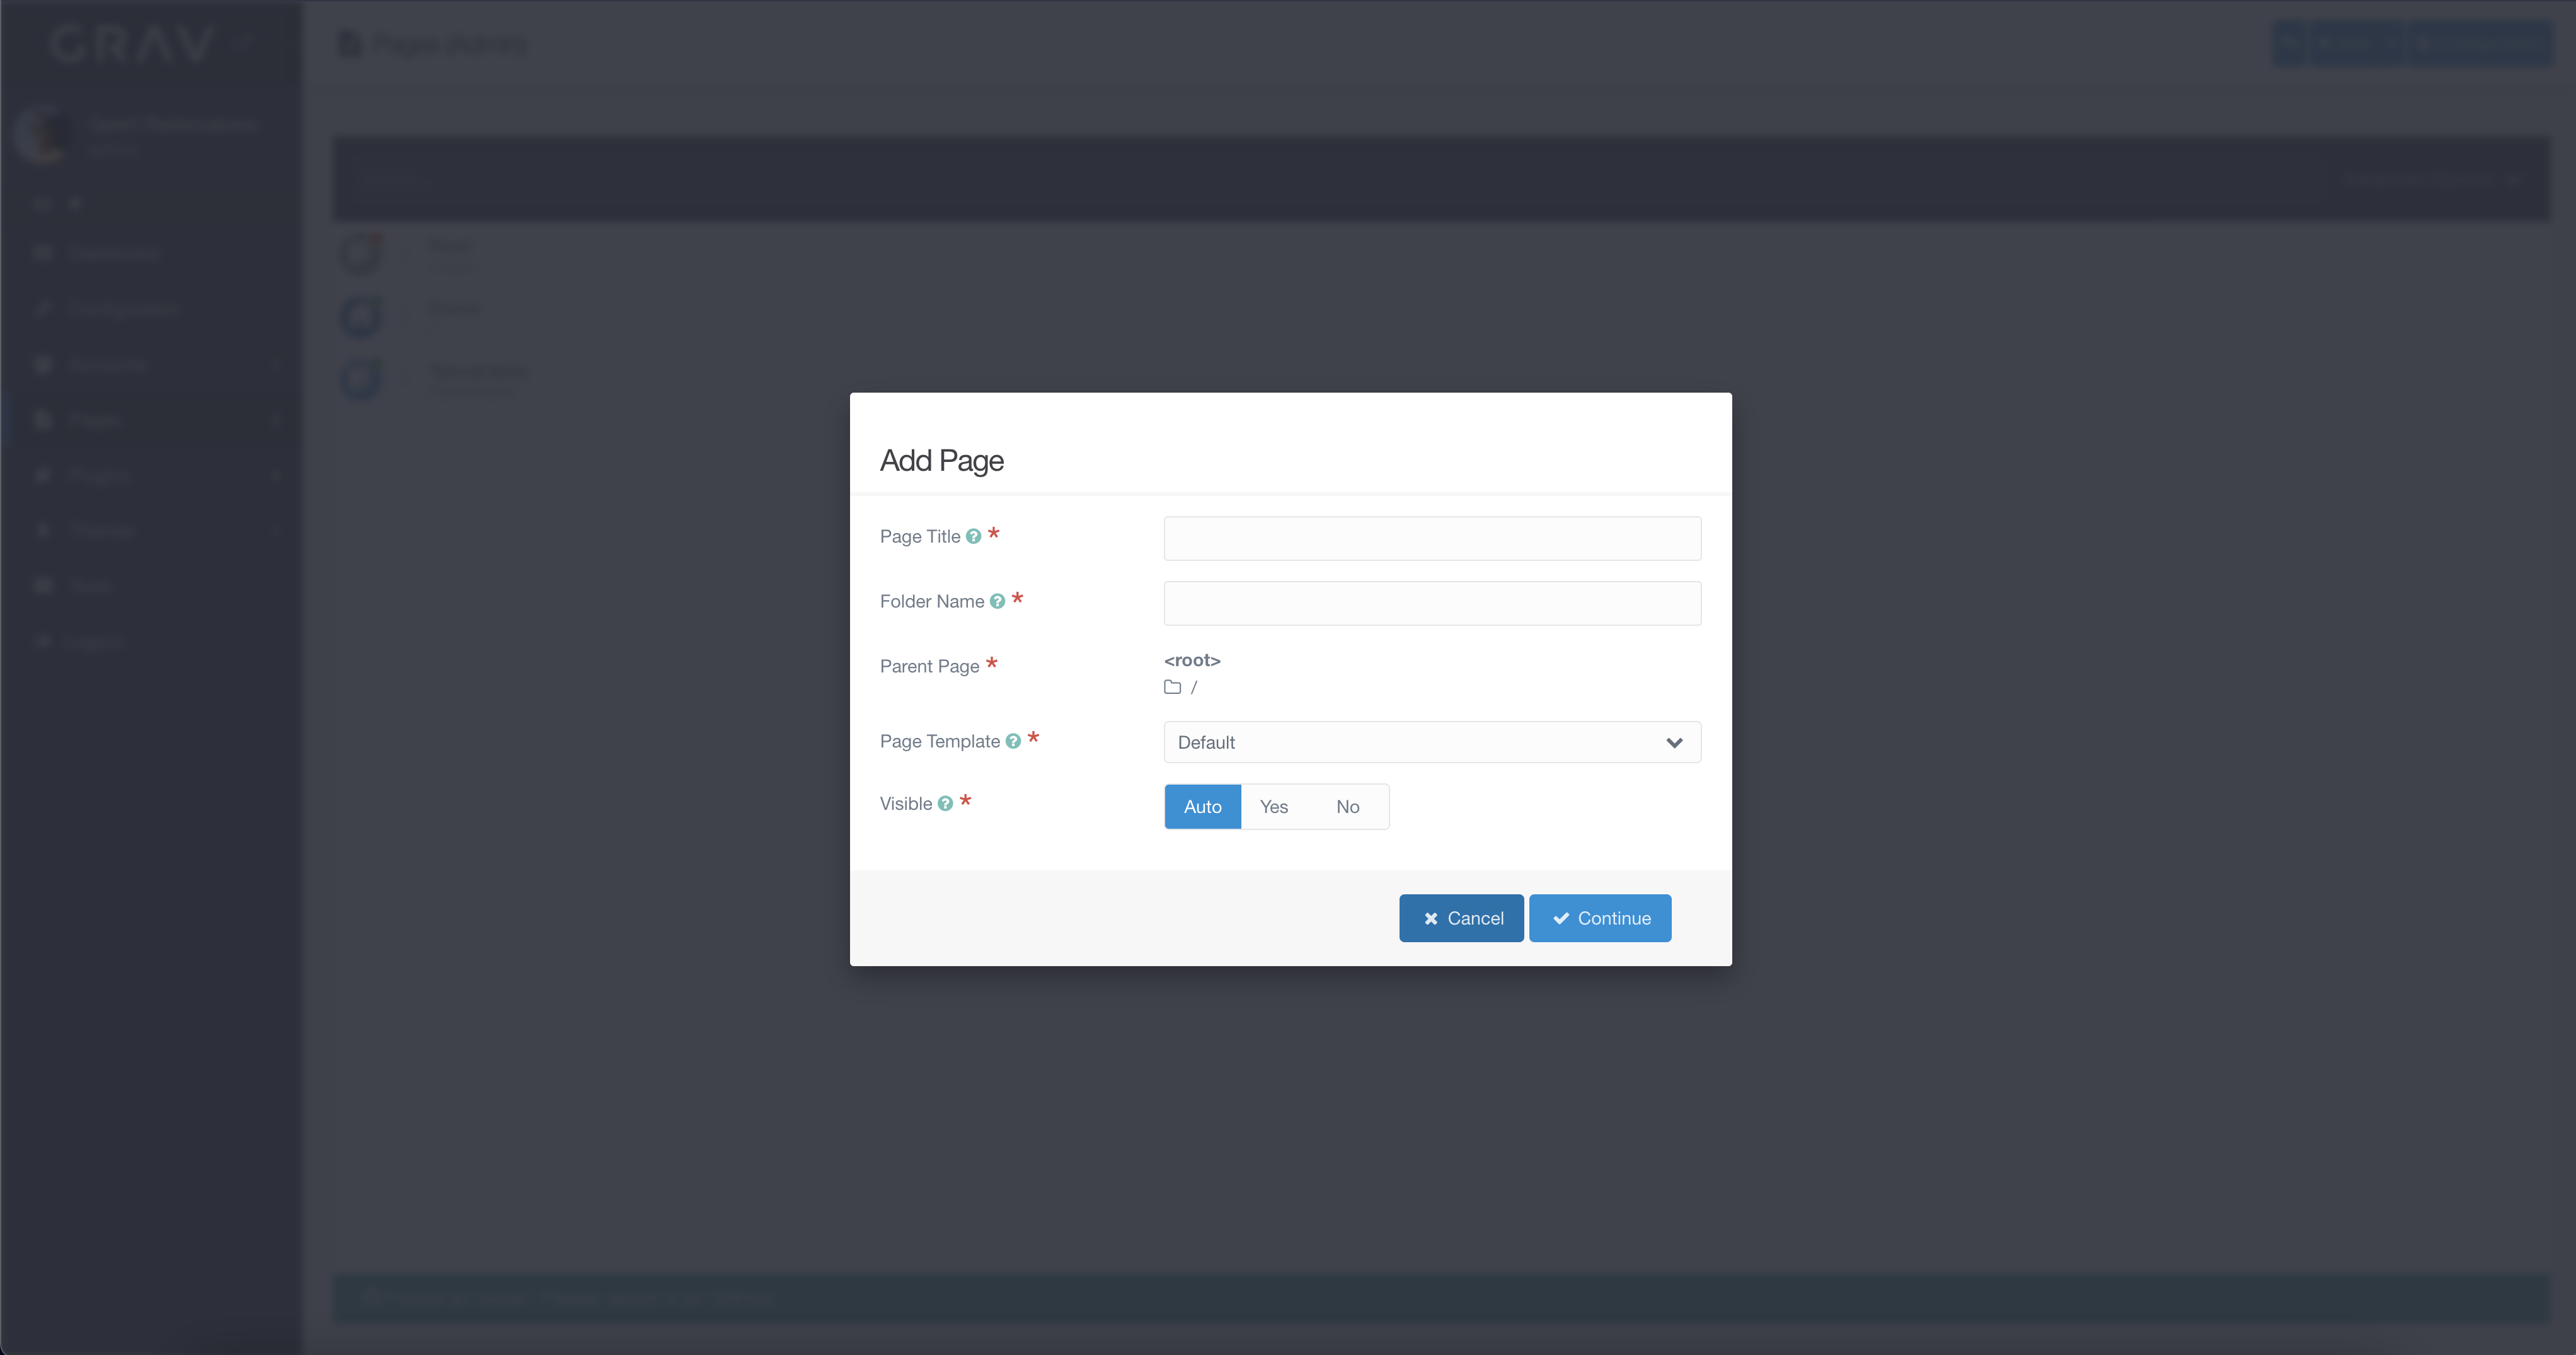 figure 2
After clicking 'continue' on the popup modal in figure 2, you'll land on the new and to be edited page displayed in figure 3. As displayed in the above, This page will not exist until it is saved. This is important, because most of the editors, aswell as the media, are only available after the page has been saved. It is recommended to save the page now, before continuing. You can save the page, by pressing the 'Save' button, in the upper right position on the screen.
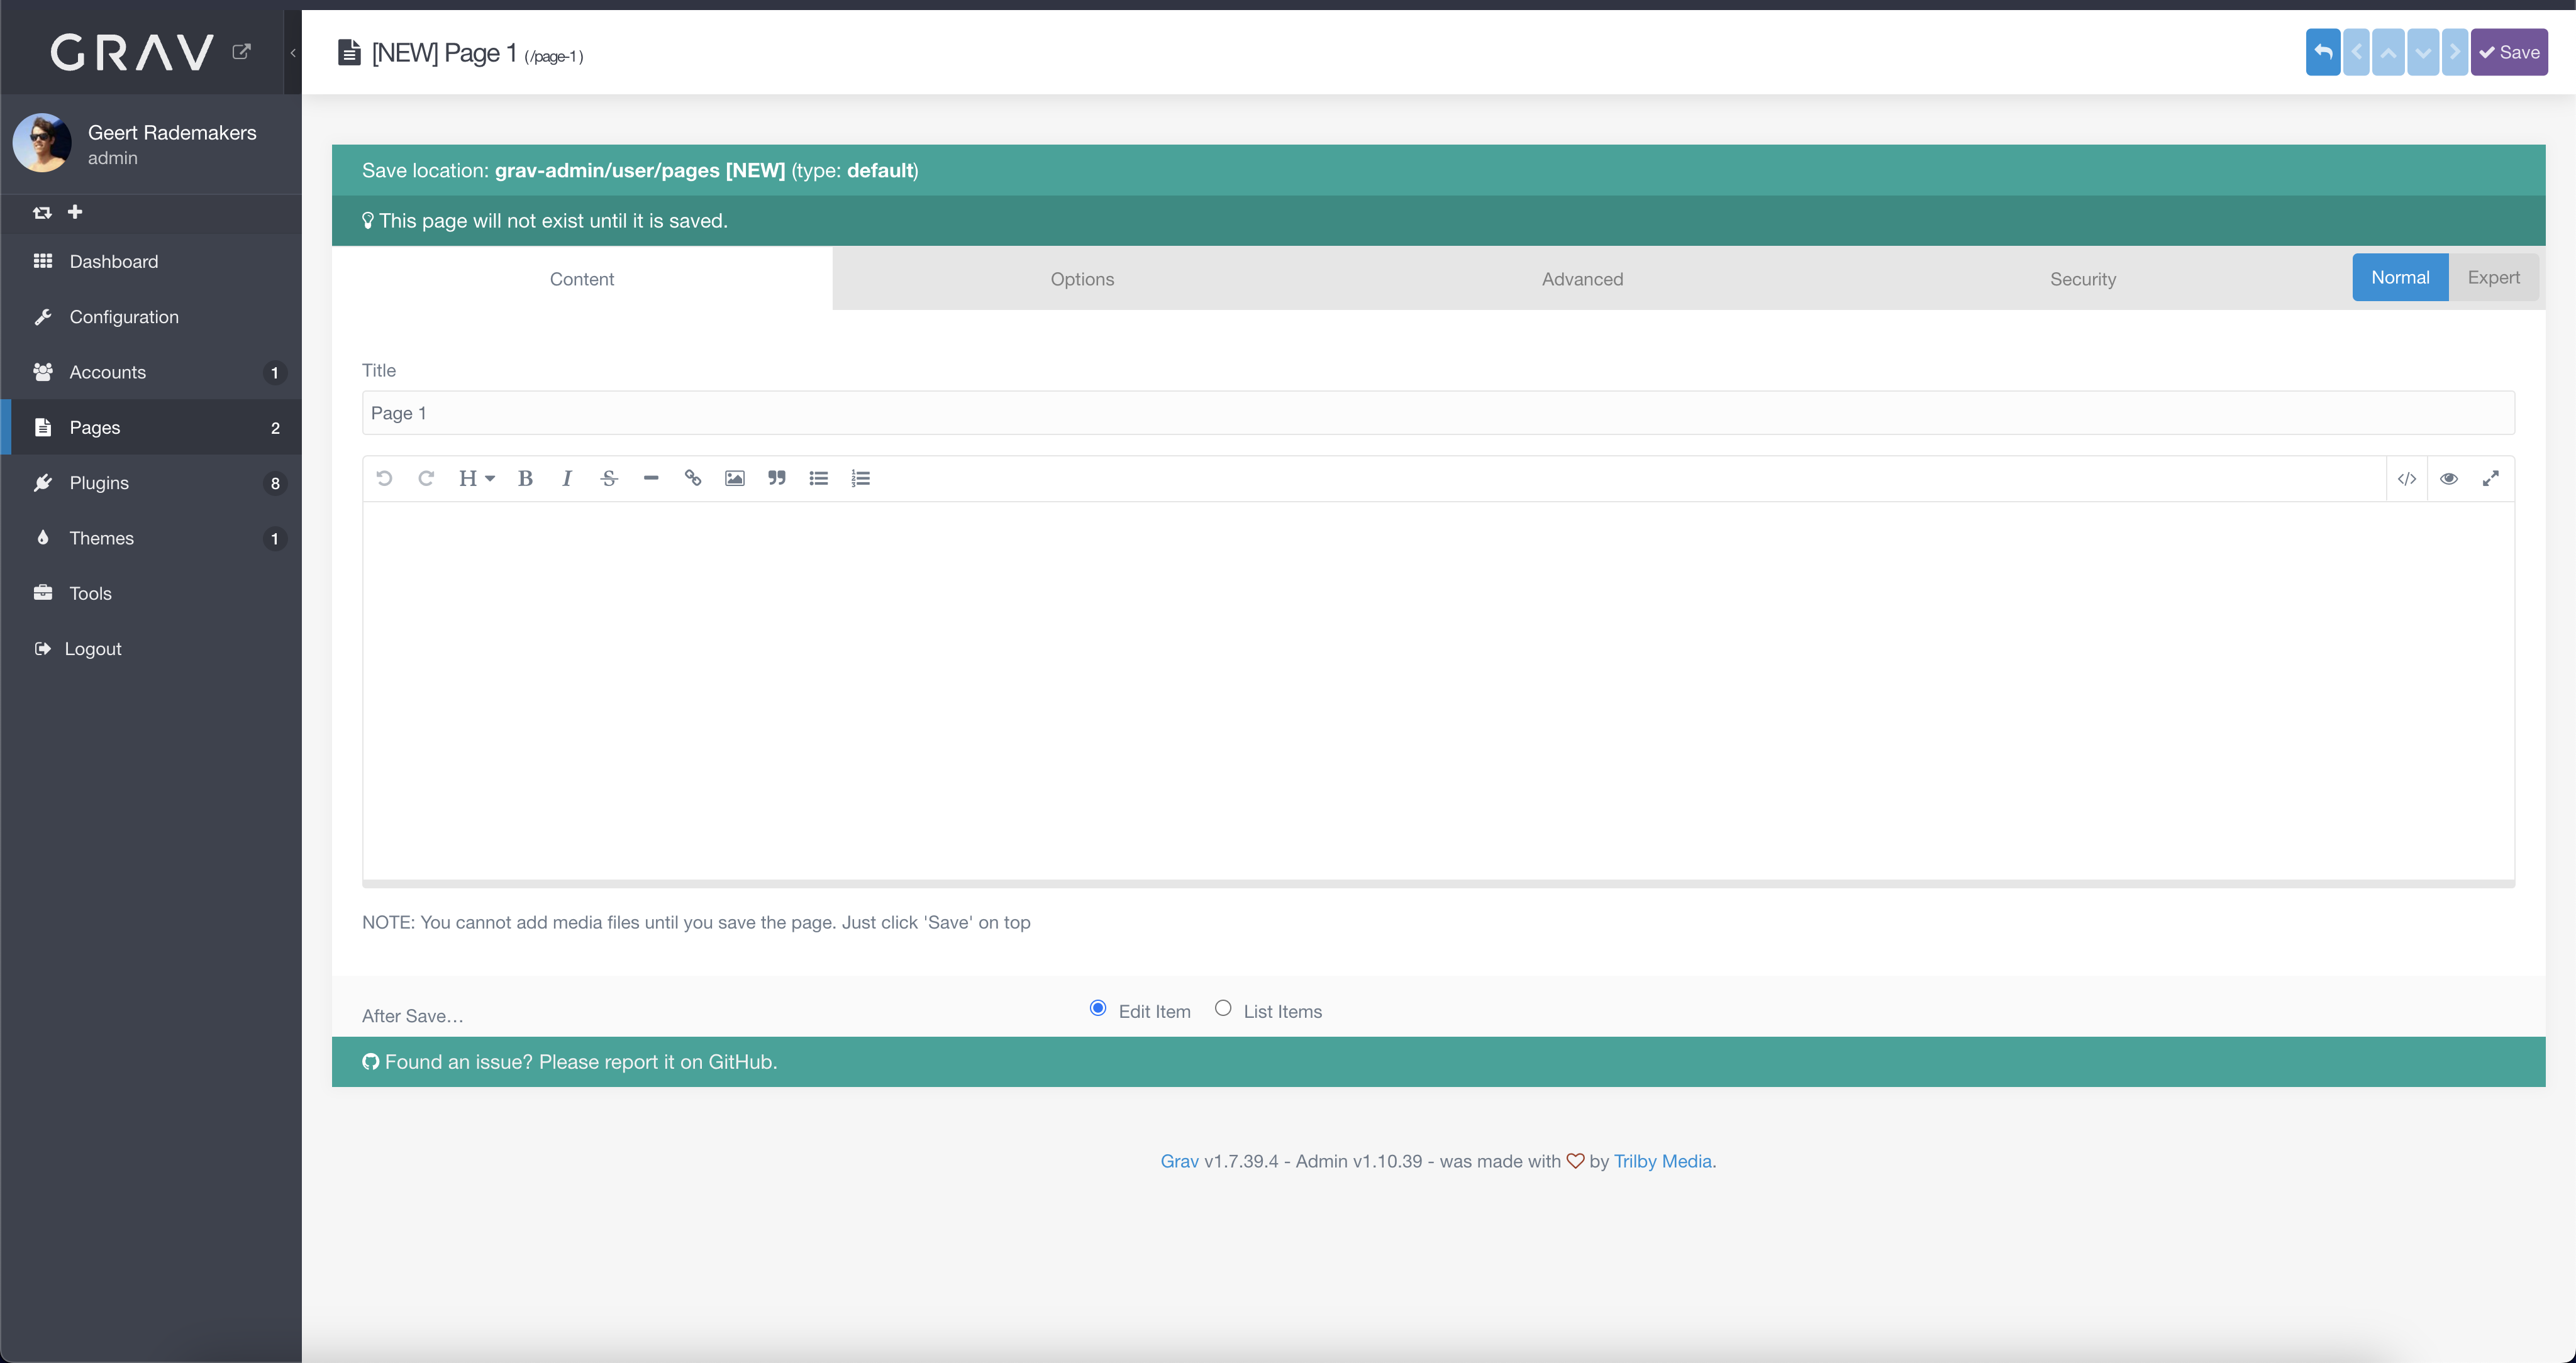 figure 3
After saving the page, you will see the correct editor and the media part. You can now add content to the page and check how the page looks like by either visiting the url (if the page is visible), or by pressing the 'eye' icon next to the 'delete' button (figure 4). This will preview the page, so you can see the page, before publishing it.
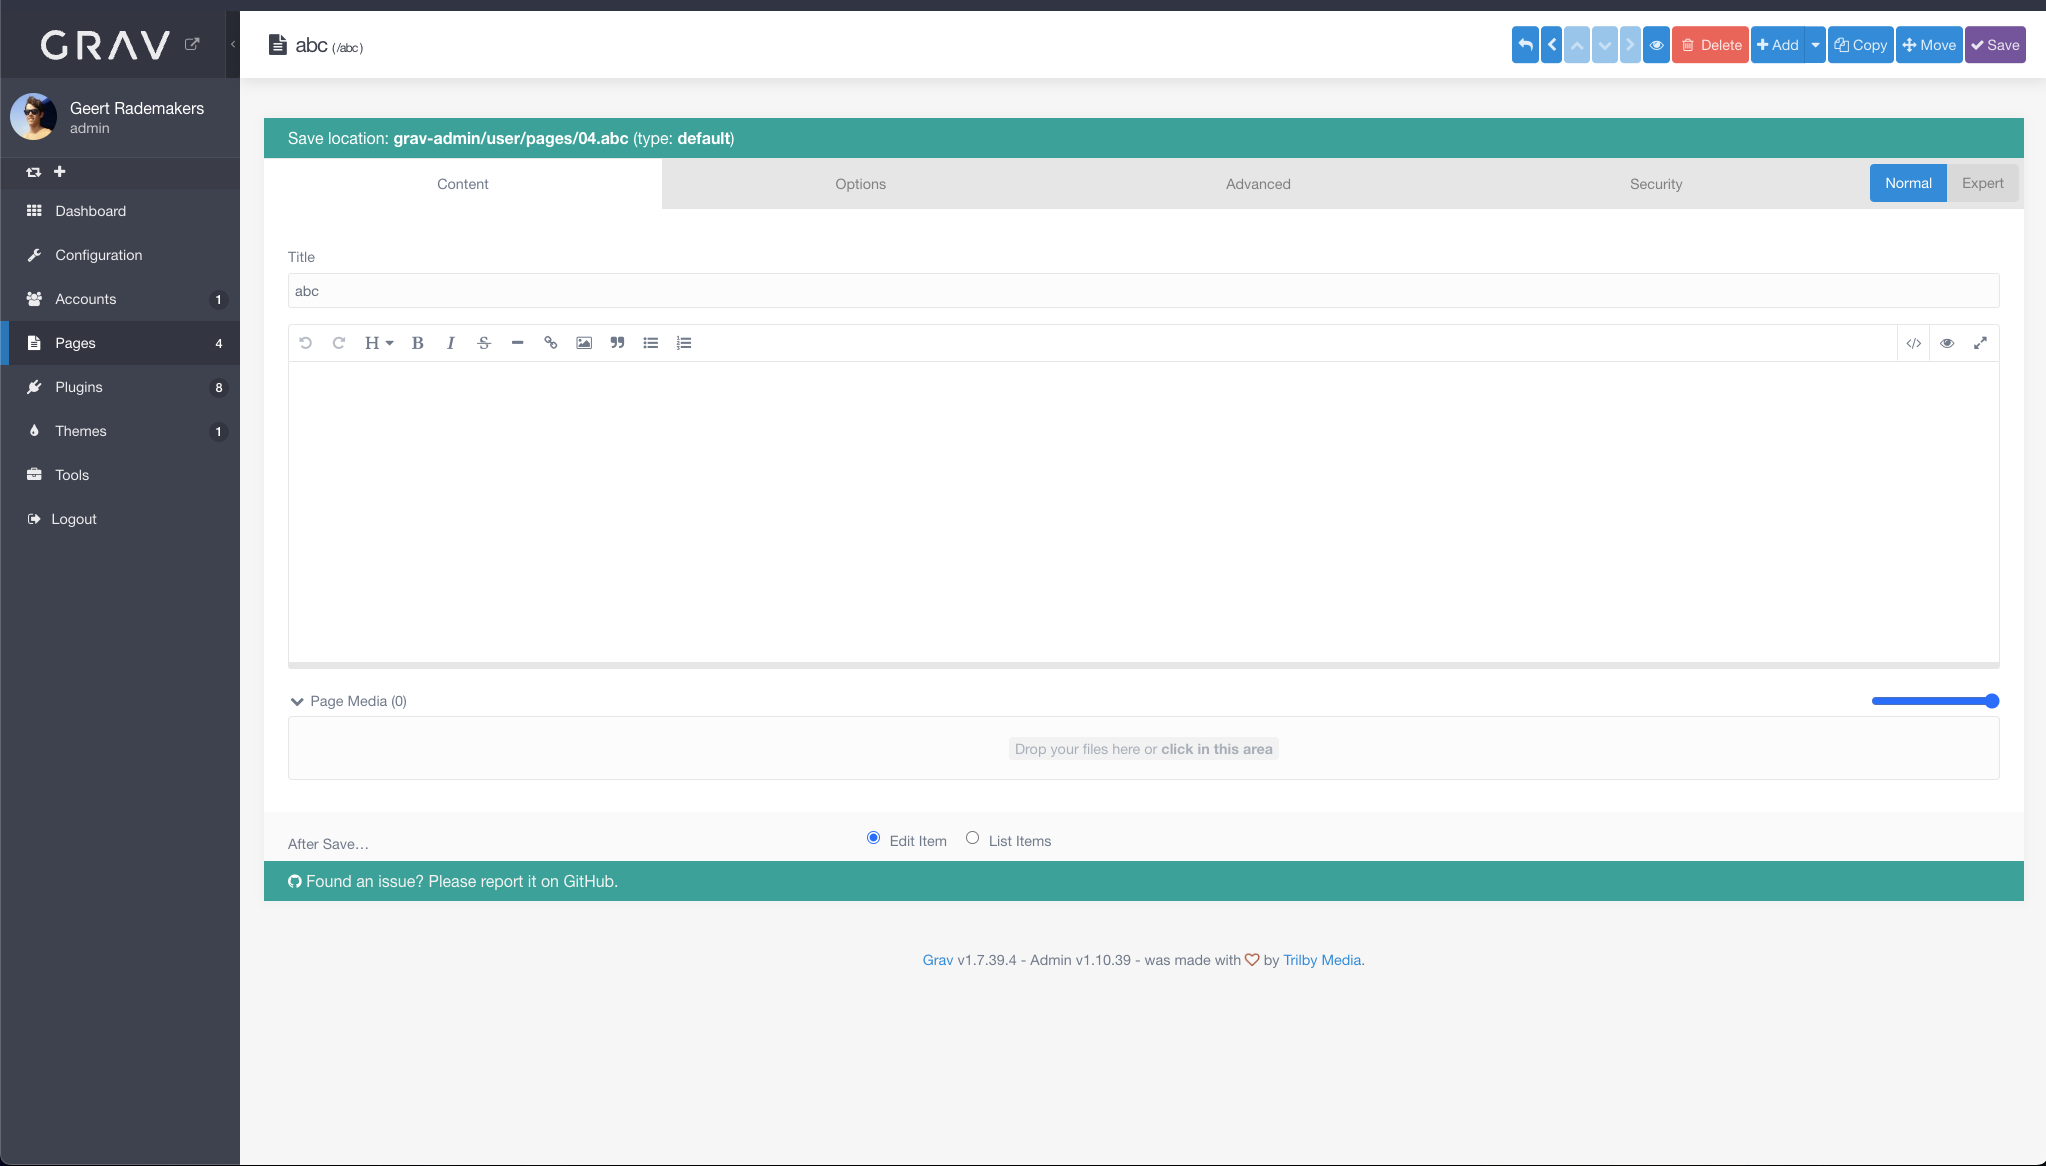 figure 4
After saving you will be able to see your page in the 'Pages' tab in the side menu. And, if published, under the url that you have given as folder name.